docker-compose安装Harbor
1、Harbor概述
Docker容器应用的开发和运行离不开可靠的镜像管理,虽然Docker官方也提供了公共的镜像仓库,但是从安全和效率等方面考虑,部署我们私有环境内的Registry也是非常必要的。Harbor是 由VMware公司开源的企业级的Docker Registry管理项目,它包括权限管理(RBAC)、LDAP、日志审核、管理界面、自我注册、镜像复制和中文支持等功能。
harbor官方地址: https://goharbor.io
github地址: https://github.com/goharbor/harbor
1.1 Harbor部署
- 安装好docker-compose
1.1.1 提前准备一个ca证书
如果有自己的域名,可以到https://freessl.cn/ 申请免费的ssl证书
- 自签证书
- 生成认证授权证书
- a)进入指定文件夹(任意目录均可)。
1
2
mkdir -p /usr/local/certificate
cd /usr/local/certificate - b)此处采用 https,首先生成一个 CA 证书私钥。
1
openssl genrsa -out ca.key 4096 - c)生成一个 CA 证书(CN 改为自己定义的 Harbor 仓库域名)。
1
2
3
4
5
6
openssl req -x509 -new -nodes -sha512 -days 3650 \
-subj "/C=CN/ST=Shenzhen/L=Shenzhen/O=harbor/OU=Personal/CN=harbor.com" \
-key ca.key \
-out ca.crt
subj:表示组织机构
CN:通用名称
- 生成服务端证书
- a)生成私钥。
1
openssl genrsa -out harbor.com.key 4096 - b)生成证书签名请求(CSR)。
1
2
3
4
openssl req -sha512 -new \
-subj "/C=CN/ST=Shenzhen/L=Shenzhen/O=harbor/OU=Personal/CN=harbor.com" \
-key harbor.com.key \
-out harbor.com.csr - c)生成 x509 v3 扩展文件。
1
2
3
4
5
6
7
8
9
10
11
12
cat > v3.ext <<-EOF
authorityKeyIdentifier=keyid,issuer
basicConstraints=CA:FALSE
keyUsage = digitalSignature, nonRepudiation, keyEncipherment, dataEncipherment
extendedKeyUsage = serverAuth
subjectAltName = @alt_names
[alt_names]
DNS.1=harbor.com
DNS.2=harbor
DNS.3=hostname
EOF - d)使用 v3.ext 文件生成 Harbor 仓库域名。
1
2
3
4
5
openssl x509 -req -sha512 -days 36500 \
-extfile v3.ext \
-CA ca.crt -CAkey ca.key -CAcreateserial \
-in harbor.com.csr \
-out harbor.com.crt
- 生成提供给 Harbor 仓库和 Docker 的证书
- a)将证书文件拷贝到主机的证书存放文件夹下。
1
2
3
mkdir -p /data/cert/
cp harbor.com.crt /data/cert/
cp harbor.com.key /data/cert/ - b)将 harbor.com.crt 证书文件转换为 Docker 使用的 harbor.com.cert 文件 。
1
openssl x509 -inform PEM -in harbor.com.crt -out harbor.com.cert - c)将服务器证书、私钥和 CA 文件拷贝到 Harbor 和 Docker 的证书文件夹中。
1
2
3
4
mkdir -p /etc/docker/certs.d/harbor.com/
cp harbor.com.cert /etc/docker/certs.d/harbor.com/
cp harbor.com.key /etc/docker/certs.d/harbor.com/
cp ca.crt /etc/docker/certs.d/harbor.com/
1.1.2 安装
1)下载harbor离线包
https://github.com/goharbor/harbor/releases
选择harbor-offline-installer-vx.x.x.tgz2)将下载的包上传到linux,解压
tar xvf harbor-offline-installer-v2.9.0.tgz -C /opt/3)准备配置文件
1
2
$ cd /opt/harbor
$ cp harbor.yml.tmpl harbor.yml4)移动证书文件
1
2
$ mkdir -p /opt/harbor/ssl
$ mv /root/www.xxx.com.* /opt/harbor/ssl/5)编辑配置文件
1
2
3
4
5
6
7
8
9
10
11
12
13
$ cd /opt/harbor/
$ vi harbor.yml
hostname: harbor.zhoumx.cc #修改为你自己的域名
https:
# https port for harbor, default is 443
port: 443
# The path of cert and key files for nginx
certificate: /opt/harbor/ssl/cc.crt #修改为你自己的证书
private_key: /opt/harbor/ssl/cc.key #修改为你自己的密钥
harbor_admin_password: Huawei@123 #修改登录密码6)安装
Harbor从v2.6.0 开始弃用Chartmuseum,并在v2.8.0中开始删除
如果需要使用Chart使用命令:sh install.sh –with-chartmuseum
1
2
3
4
5
6
7
8
9
10
11
12
13
14
15
16
$ cd /opt/harbor
$ sh install.sh
[Step 5]: starting Harbor ...
[+] Running 10/10
✔ Network harbor_harbor Created 0.4s
✔ Container harbor-log Started 0.0s
✔ Container registryctl Started 0.0s
✔ Container registry Started 0.0s
✔ Container harbor-portal Started 0.0s
✔ Container redis Started 0.0s
✔ Container harbor-db Started 0.0s
✔ Container harbor-core Started 0.0s
✔ Container nginx Started 0.0s
✔ Container harbor-jobservice Started 0.0s
✔ ----Harbor has been installed and started successfully.----出现successfully字样代表安装完成
7)查看、停止和启动服务
1
2
3
4
$ cd /opt/harbor
$ docker-compose ps
$ docker-compose stop
$ docker-compose up -d8)访问web界面
先在hosts文件(文件路径为C:\Windows\System32\drivers\etc)中添加域名和IP的映射或者配置DNS服务器1
192.168.1.40 www.xxx.com
打开浏览器,输入www.xxx.com,账号默认是admin,密码是配置文件中设置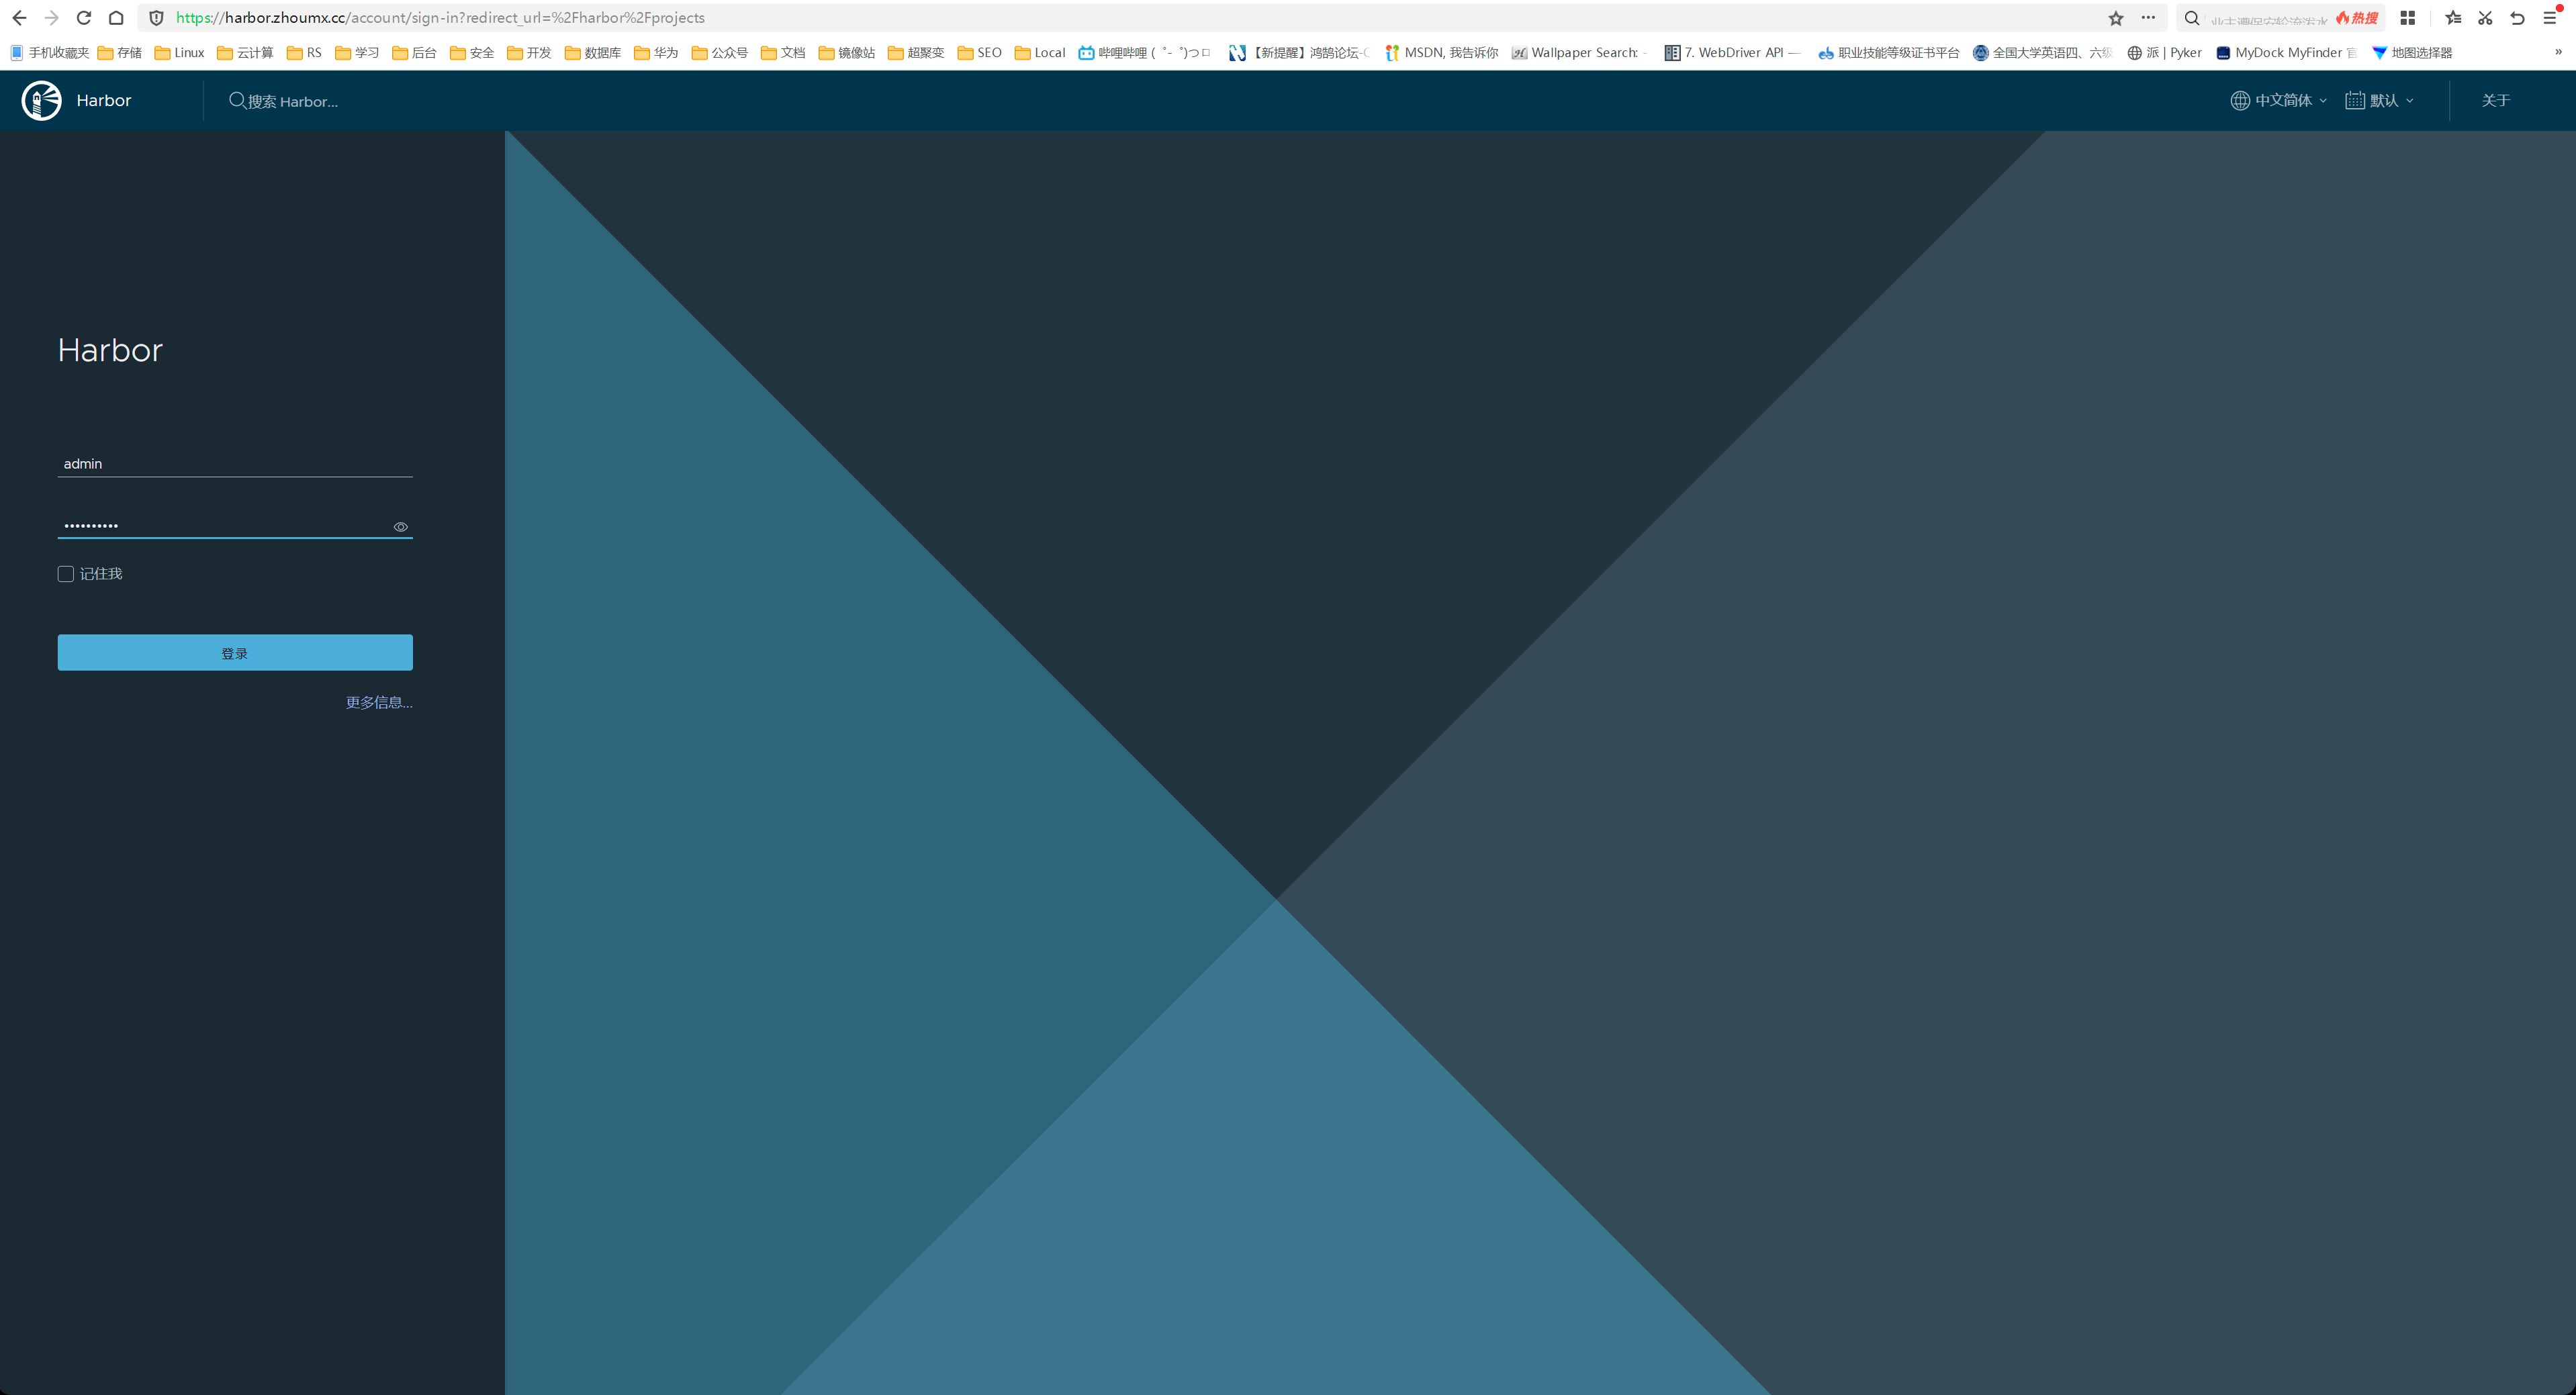
访问web界面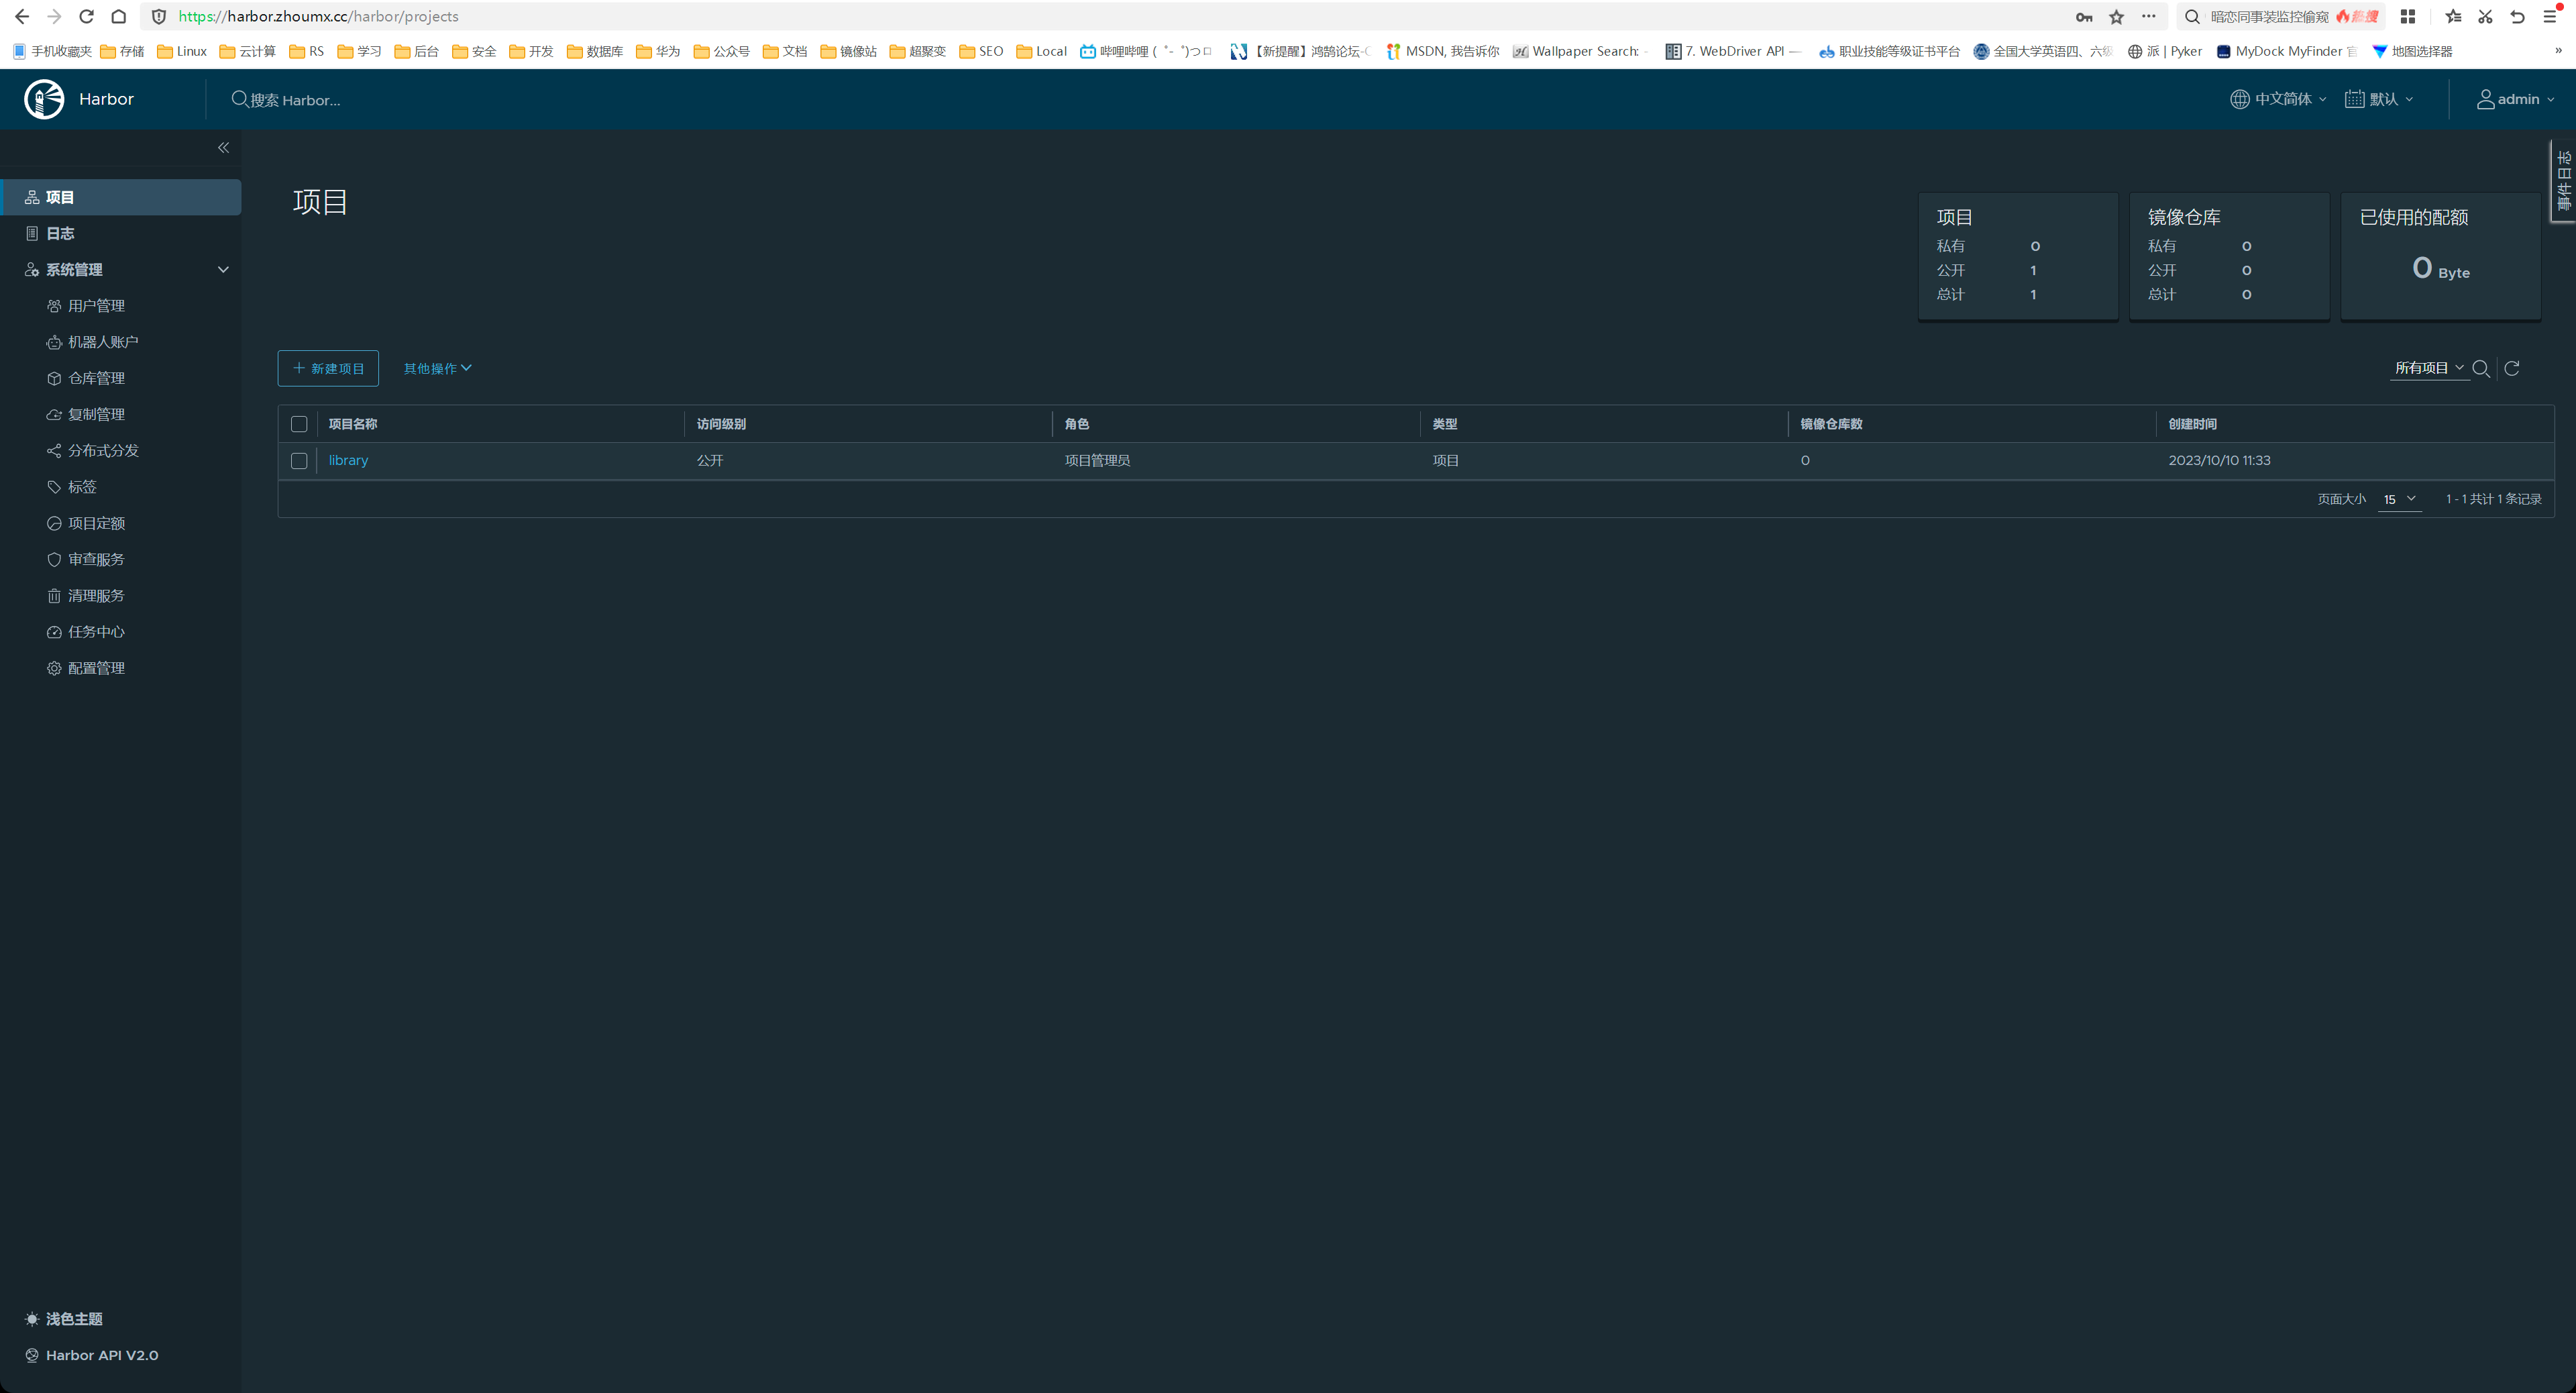
重新配置harbor
假设我们需要更新harbor的yaml文件
1、停止harbor
1 | |
2、更新harbor.yml
1 | |
3、运行prepare脚本以更新配置
1 | |
4、重新创建并启动Harbor实例
1 | |
1.2 使用Harbor
1、点击【新建项目】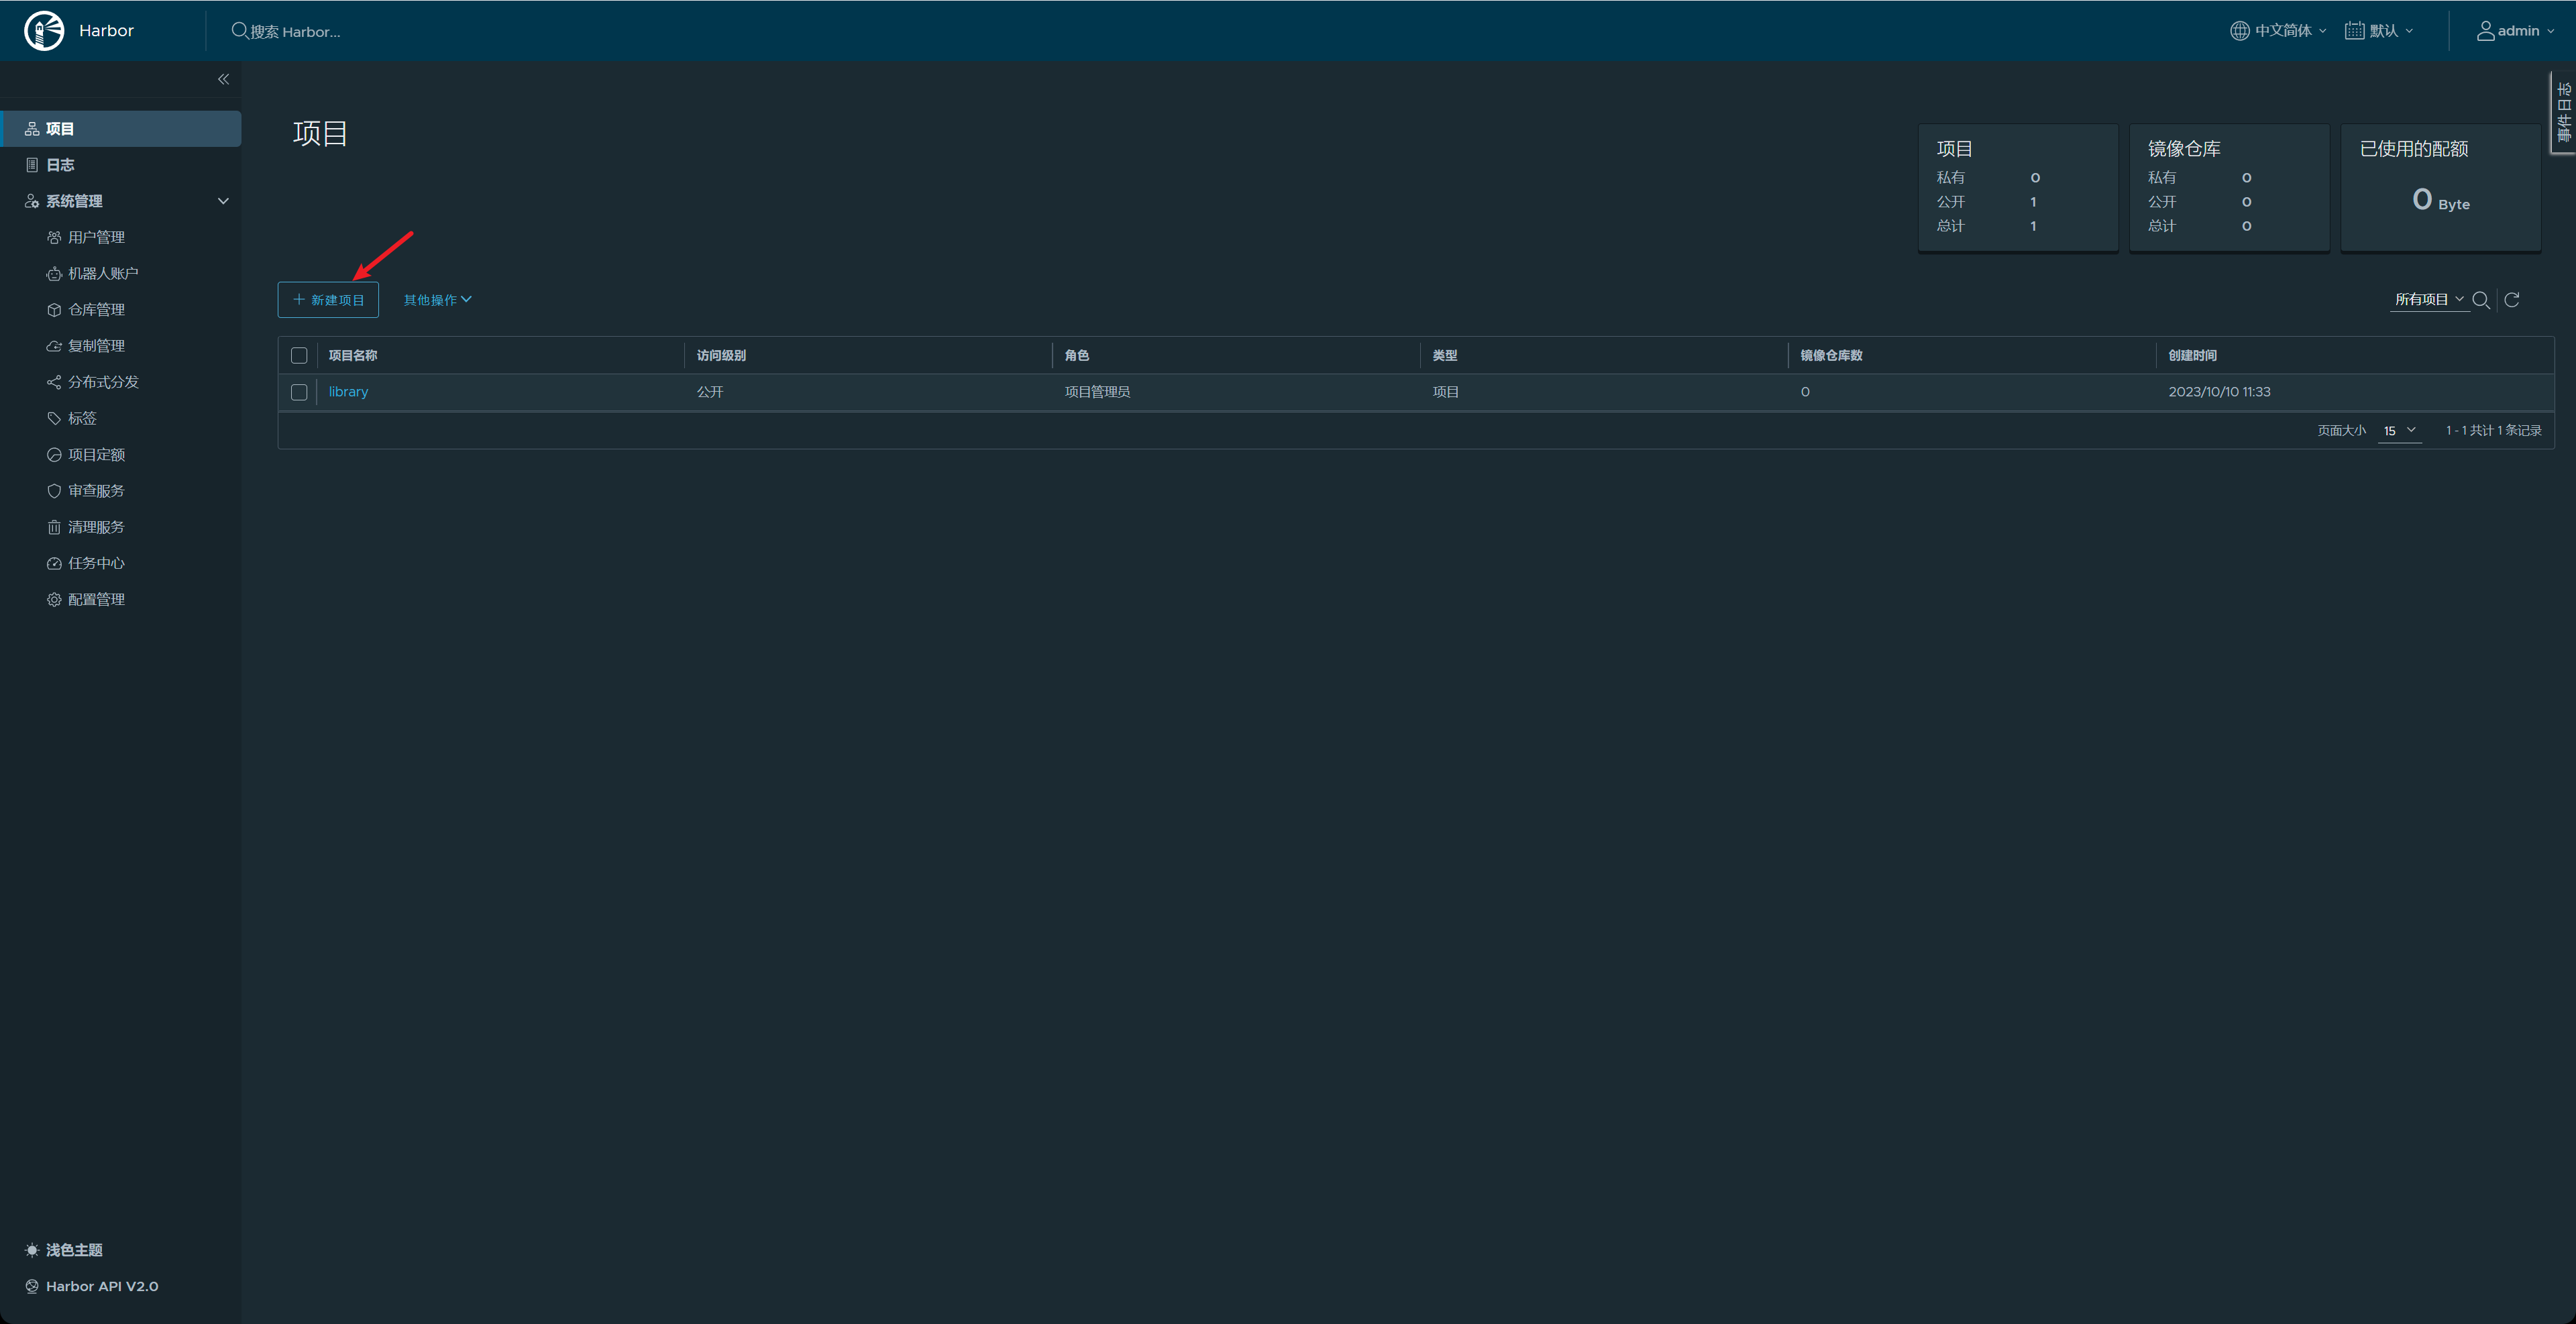
2、填写项目名称,点击【确定】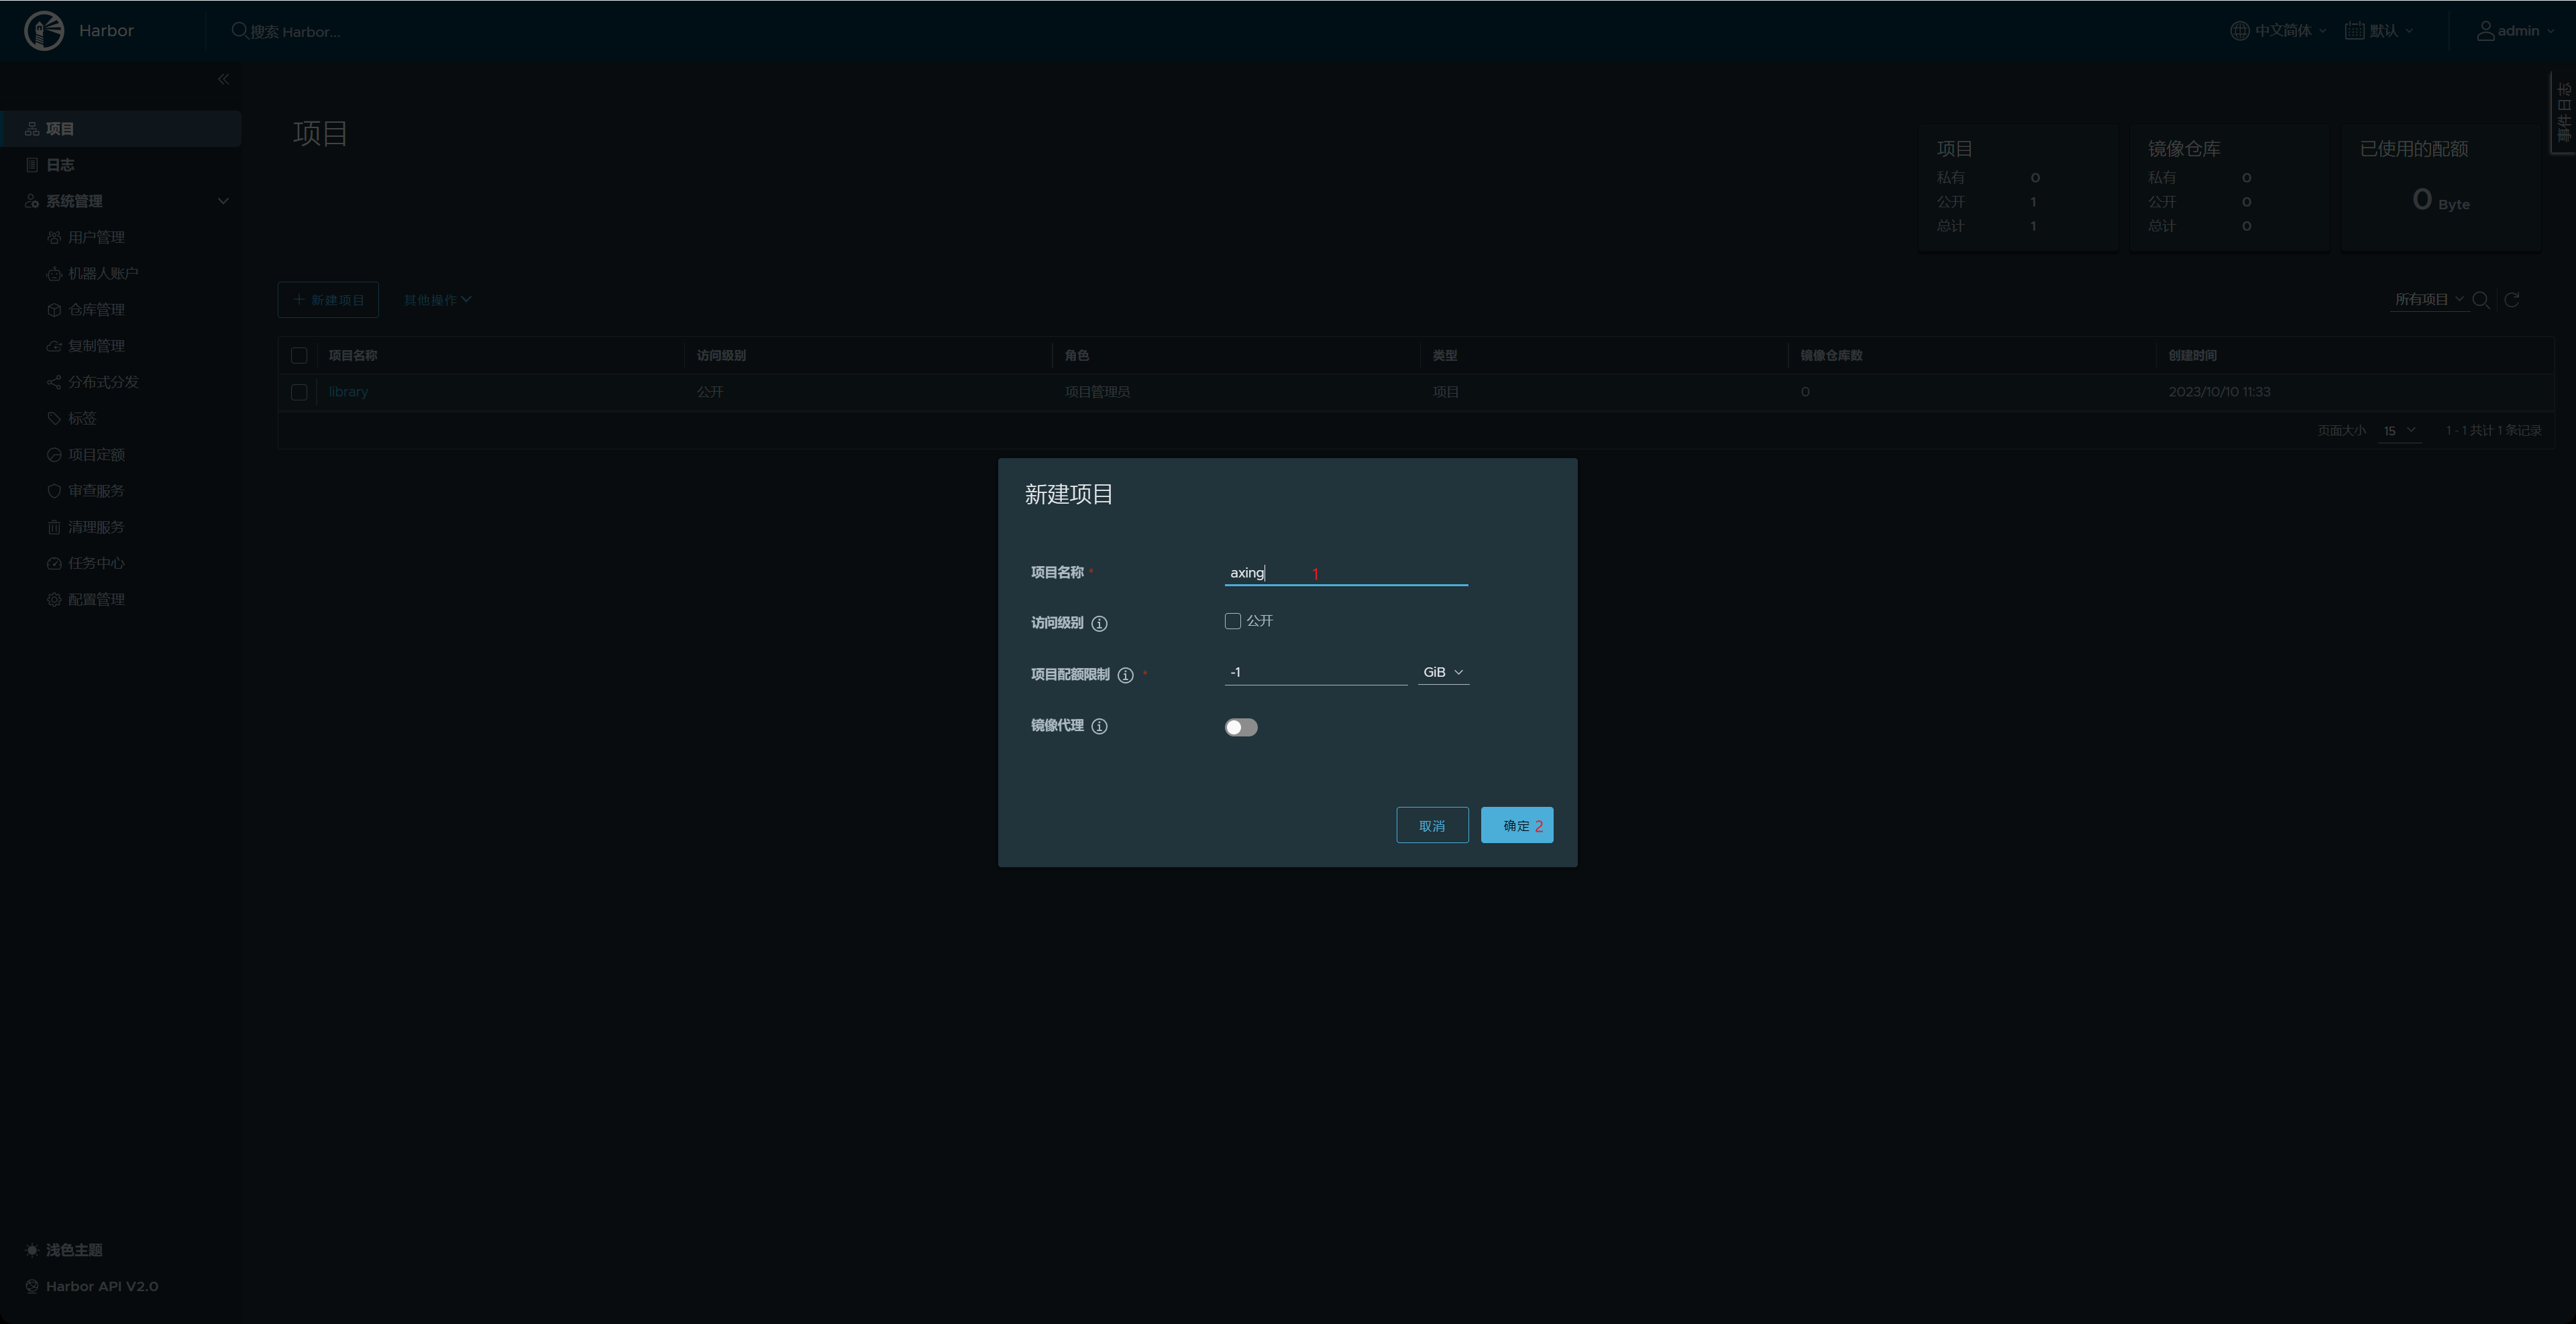
3、拉取公共镜像
1 | |
4、把tomcat推送到harbor
没有DNS服务器可以添加hosts实现访问
1 | |
1 | |
5、Web界面登录进行验证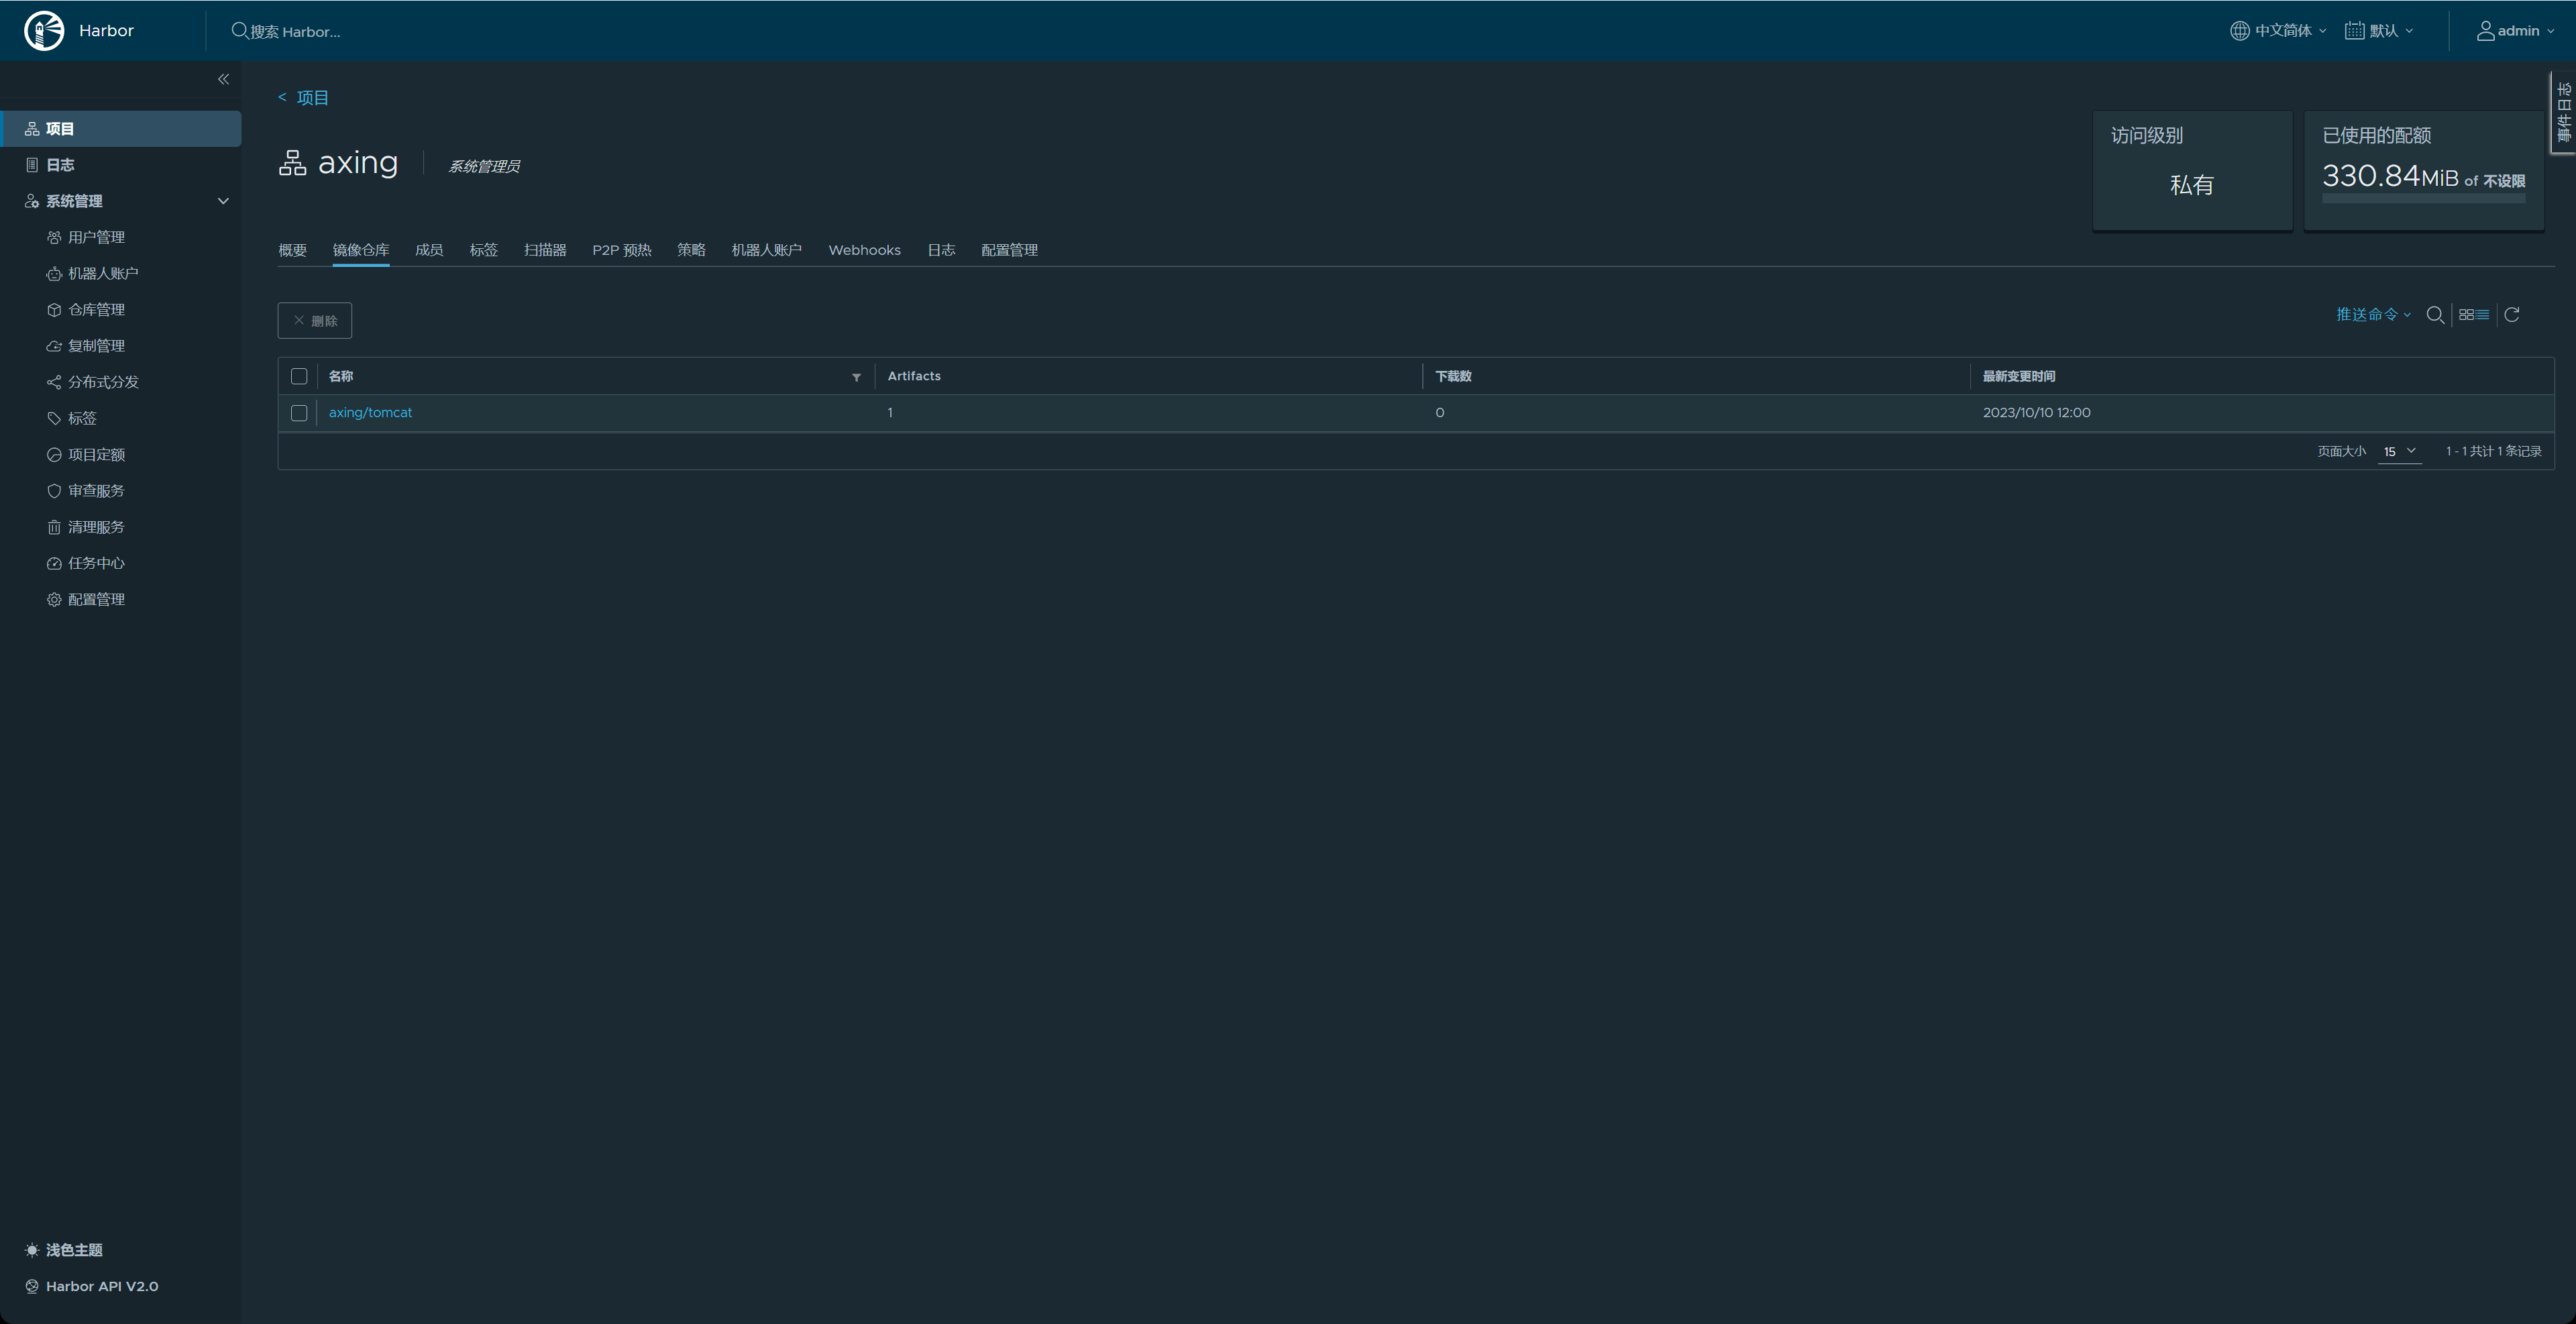
- 问题: x509: certificate signed by unknown authority
原因:本地不信任自签或免费的SSL证书
需要在客户端机器上(也就是你执行docker login的机器上)执行1
21)echo -n | openssl s_client -showcerts -connect harbor.yuankeedu.com:443 2>/dev/null | sed -ne '/-BEGIN CERTIFICATE-/,/-END CERTIFICATE-/p' >> /etc/ssl/certs/ca-bundle.trust.crt
2)systemctl restart docker